Creating a Bot Account
In order to work with the library and the Stoat API in general, we should first create a Stoat bot account.
Note
If you wish to use user account, please visit Tokens instead.
Creating a Bot account is a pretty straightforward process.
Make sure you’re logged on to the Stoat website.
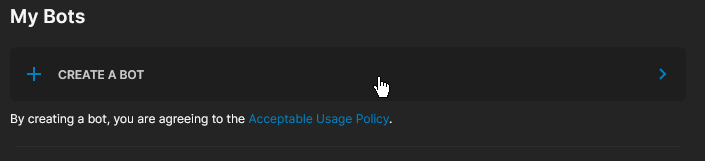
Navigate to the bots page.
Click on the “CREATE A BOT” button.
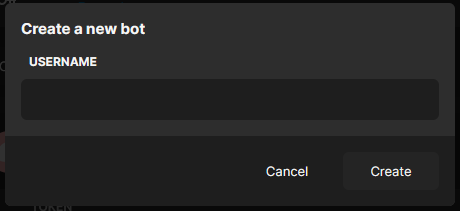
Give the bot a name and click “Create”.
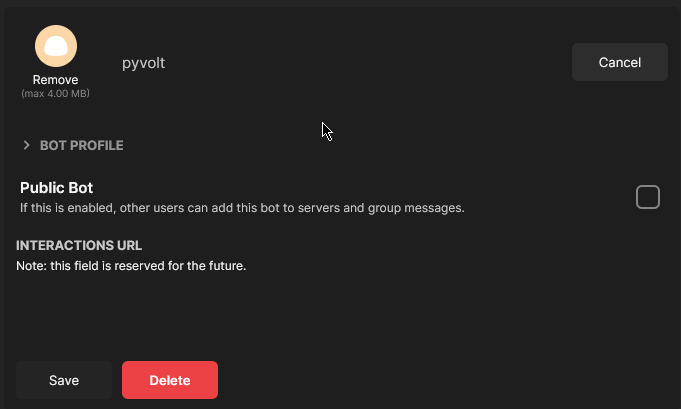
Click on the “Edit” button to configure bot’s profile.
Make sure that Public Bot is ticked if you want others to invite your bot.
Copy the token using the “Copy” button.
Warning
It should be worth noting that this token is essentially your bot’s password. You should never share this with someone else. In doing so, someone can log in to your bot and do malicious things, such as leaving servers, ban all members inside a server, or pinging all members maliciously.
The possibilities are endless, so do not share this token.
If you accidentally leaked your token, click the “Regenerate” button as soon as possible. This revokes your old token and re-generates a new one. Now you need to use the new token to login.
And that’s it. You now have a bot account and you can login with that token.
Inviting Your Bot
So, you’ve made a bot account, but it’s not actually in any server.
If you want to invite your bot, you must create an invite URL for it.
Make sure you’re logged on to the Stoat website.
Navigate to the bots page in user settings.
Click on your bot.
Click on the “Copy Invite Link” button.
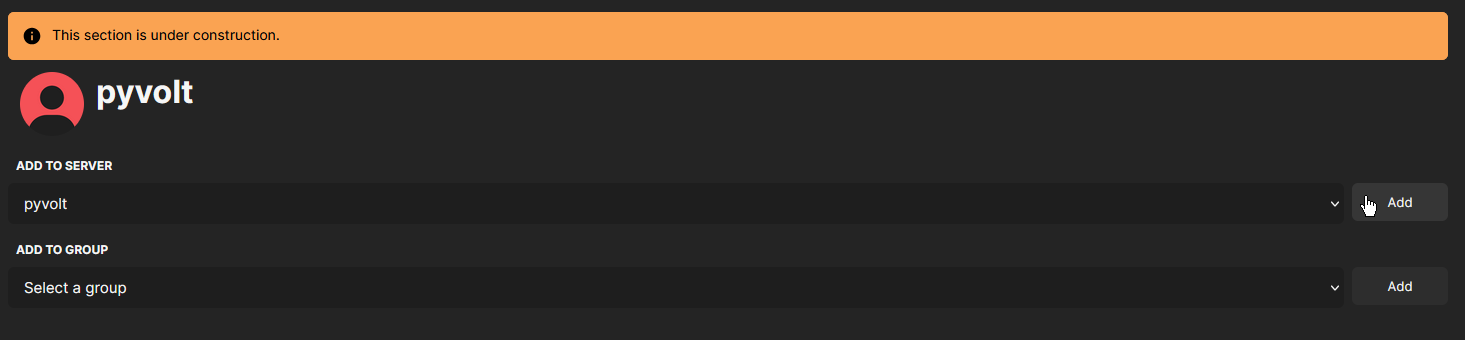
The copied URL can be used to add your bot to a server or group. Copy and paste the URL into your browser, choose a destination to invite the bot to, and click “ADD”.
Note
The person adding the bot needs “Manage Server” or “Invite Others” (in groups) permissions to do so.